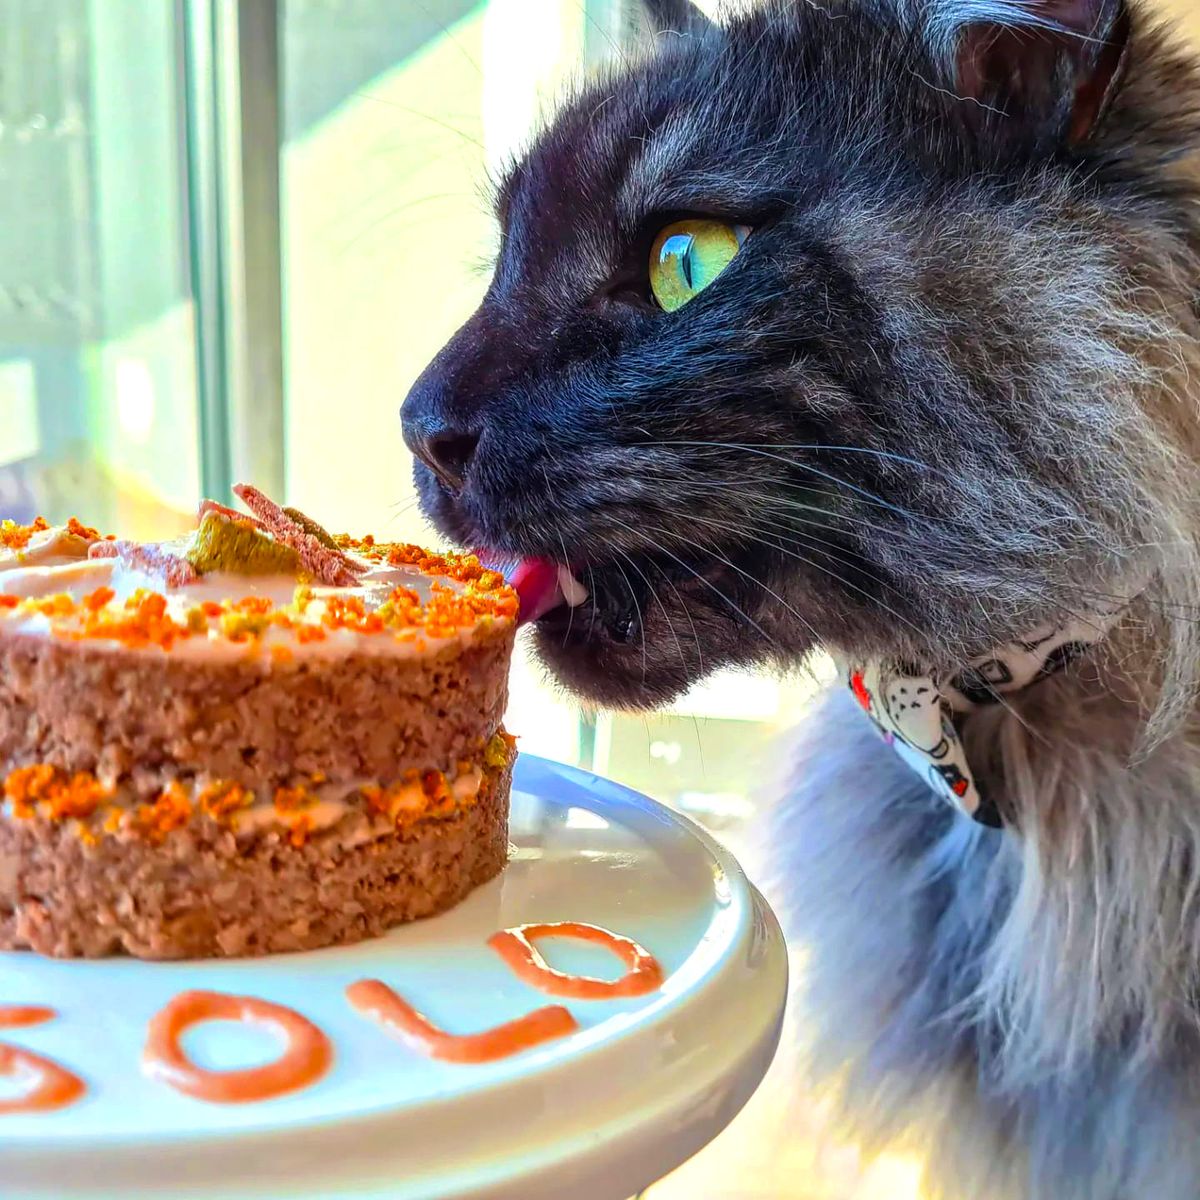
How to make a birthday cake for your cat

Read time: 3 min
You will need:
For the cake:
1 pouch of your cat’s favourite KatKin recipe (you might even have our Birthday Cake recipe to work with)
For the shape: Small cake moulds, reusable cupcake cases or whatever you have to hand around the house. Remember though: keep it small. One pouch of KatKin is an entire day’s worth of food for your cat, so no huge cake moulds.
For the icing
KatKin 100% chicken Sprinkles
KatKin 100% chicken or salmon Nibbles
200g of chicken breast
A hand blender
Step 1: Defrost in advance
Defrost your cat’s pouch of our Birthday Cake recipe (or their favourite KatKin recipe) by putting it in the fridge the day before.
Step 2: Make your icing
Cover your chicken breast with water in a small saucepan and bring to the boil on high heat with the lid on.
When boiling, decrease the heat to keep a gentle simmer and gently boil for another 7 minutes.
Remove from the heat and check the chicken is cooked. If it’s pink, keep cooking. If it’s done, pop it on a chopping board, keeping the pan of water to one side.
Let the chicken cool, then cut it into cubes.
In a bowl, blend 200g of chicken with 60ml of the water you used to poach the chicken. Blend until smooth and creamy, and add a few more tbsp of water if needed, until you get to a spreadable hummus-like consistency.
Step 3: Squidge
Take your pouch of KatKin out of the fridge, and give it a gentle squish in the pouch. We want to break up any chunks so it will be easier to mould. Don’t worry about making the texture smooth.
Step 4: Plate up
Get your work surface ready. We recommend working over your plate, as things may get a little messy.
Step 5: Pack it in
With your spoon, pack the KatKin into your chosen mould. Press it in quite firmly, so it doesn’t crumble when the mould is removed.
Step 6: Free your cake
Run a small knife around the edges to carefully separate the cake from the mould. Turn your mould upside down and gently tap to get the cake onto the plate.
Step 7: Get creative
Now’s your time to shine. Use your chicken icing, Nibbles, and Sprinkles to create your masterpiece.
Step 8: Ready your best singing voice
The moment we’ve all been waiting - the big reveal. Do your vocal warm-up, because no birthday cake is complete without a good old sing-song.
Step 9: Cut the cake
Whilst we’d love to eat our entire birthday cake in one sitting, we know we’d regret it after the sugar rush. The same goes for our cats. Slice the cake into your cat’s usual portions to feed at meal times. Keep the rest in the fridge to be served through the day. It’s up to you if you sing “Happy Birthday” every time (but we’d recommend it).
Step 10: Share your creation
Whether it’s worthy of a Michelin star or looks more like the cat made it, we want to see your work. Tag us on Instagram and use #KatKinBirthday to get the kudos you deserve. Or join us on the KatKin Club House where a whole community of hardcore cat parents will bow down in awe. Eat your heart out, Paul Hollywood – there’s a new Star Baker in town.